Windows are an essential part of any home or office, providing natural light and fresh air. However, dirty windows can quickly turn a beautiful space into a dull, uninviting one. Keeping windows clean can be a daunting task, but fear not – with the right tools and techniques, you can achieve crystal-clear windows that sparkle in the sunlight. In this blog post, we’ll explore the best DIY ways to clean windows, from using simple household ingredients to advanced tools that will make the process a breeze.
One of the cheapest and most effective cleaning products that you’re likely to find is vinegar. Apply the vinegar to your windows once or twice a year when they need an extra-good cleaning.
However, avoid letting the vinegar dry on the window. Instead, wipe the window with a soft cloth to remove excess residue. You’ll be amazed at how well this solution works!
Whether you’re a homeowner, a renter, or a business owner, these tips and tricks will help you achieve streak-free, sparkling-clean windows that will brighten up any space.
So, put on your cleaning gloves, and let’s dive into the world of window cleaning!
Read More How To Stop Dust Coming Through Windows
Best DIY Ways How to Clean Windows and Make Them Sparkle { Foolproof Hacks To Clean Windows In 60 Seconds}
Clean windows improve the aesthetics of a building or house and allow more natural light to enter the space.
However, cleaning windows can be a challenging task if not done properly. Here are some tips and tricks to help you achieve a streak-free and sparkling-clean window.
Materials Needed:
- Bucket
- Cleaning solution (such as dish soap, vinegar, or window cleaning solution)
- Squeegee
- Microfiber cloth
- Water
Step-by-Step Guide how to clean windows:
- Remove dust or debris from the window using a soft-bristled brush or a vacuum cleaner.
- Fill a bucket with warm water and add a few drops of cleaning solution. Dish soap or vinegar works well as a cleaning solution.
- Dip a microfiber cloth into the cleaning solution and wash the excess water.
- Start cleaning the window from the top, working your way down to the bottom. This will prevent streaks from forming. Use the microfiber cloth to scrub the window surface in a circular motion.
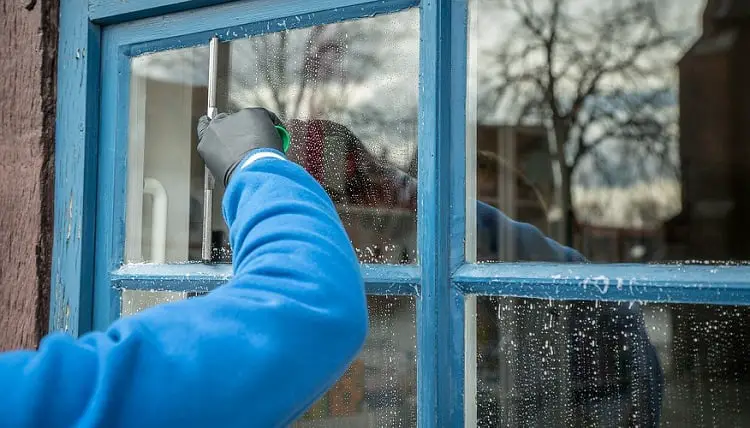
- After scrubbing, use a squeegee to remove the cleaning solution from the window surface. Starting at the top of the window, pull the squeegee down in a straight line, wiping the blade clean after each stroke with a microfiber cloth.
- Use a microfiber cloth to remove excess water or streaks from the window. Start at the top of the window and work your way down.
- Repeat steps 4 to 6 on the other side of the window.
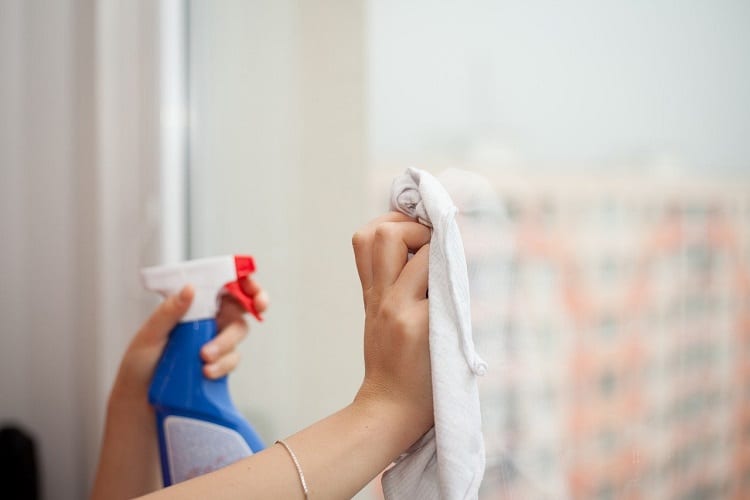
- Mix equal parts of water and vinegar in a spray bottle for extra stubborn stains and apply to the affected area. Allow the solution to sit briefly before wiping it off with a microfiber cloth.
- Finally, check the window for any streaks or spots. If necessary, repeat the cleaning process until the window is completely clean.
Additional Tips:
- Clean windows on a cloudy day or when the temperature is not too hot. Direct sunlight can cause the cleaning solution to dry too quickly, leaving streaks on the window.
- Use a dedicated squeegee for cleaning windows to avoid scratches.
- Avoid using abrasive materials such as steel wool or harsh chemicals that can damage the window surface.
- Clean your windows regularly to prevent dirt and grime buildup, which can make the cleaning process more difficult
1. Choose a cool and dry day
When looking to clean your windows, ensure that it’s not windy, as you’d be doing zero work, especially outside.
This is because the wind would carry dirt, and together with water, your windows will be dirtier.
Also, make sure it’s not sunny because the soapy water will dry off before you get a chance to clean the windows.
This leaves large streaks that are pretty hard to remove when dry.
So if it’s sunny, postpone your cleaning, or start with the side of the house with shade.
And move to the other side when the sun has shifted.
All-in-all, a dry and cloudy day is the best because it allows working efficiently and finish your work quite early.
2. Wipe off the dust with a piece of dry cloth
Before you start cleaning, take a piece of cloth and wipe off the dirt and dust from your windows. This goes a long way when cleaning, as your windows get muddy when the cleaning agents are introduced.
Suppose your window has sticky material that doesn’t come off even after wiping.
Remove it with warm water and a brush to clean the sticky substances.
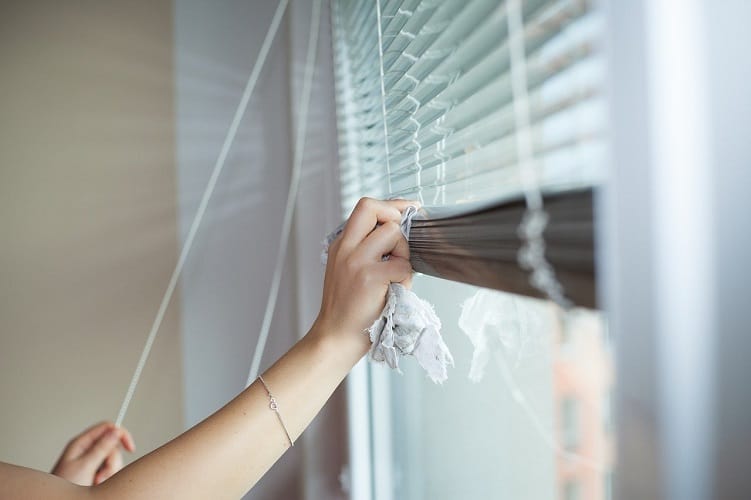
You can use microfiber to wipe your shades and blinds.
Alternatively, pass a damp cloth through each piece, and follow it with a dry one.
If you are using curtains, remove them and put them in the washer, and after your windows are clean and dry, replace your curtains.
3. Choose the right cleaning agent
You can opt to use store-bought cleaning agents like Better Life Natural All-Purpose Cleaner and Invisible Glass 99031 Reach.
Spray it on your window and clean it with a piece of cloth.
The good thing about using these two cleaning products is that the spray’s mist stays in place until you wipe it off as you clean.
It ensures that there will be no wastage as it does not drip.
Alternatively, you can make a homemade cleaning solution.
Follow the process below:
- 4 cups of water
- 1 cup of white or cider vinegar
- ½ cup of alcohol with a 70% concentration
- Mix the ingredients in a glass jar and put the mixture in a glass bottle.
4. Use a microfiber
After cleaning your windows, some people use newspapers to dry them, but it’s best to use microfiber cloths.
The upside of microfiber is that they are super absorbent, can be washed, and does not leave your glass windows with streaks.
Besides, they are super soft and do not scratch your windows.
5. Don’t use a squeegee
Although professional window cleaners swear by them, you’d have to know how to use them; otherwise, you will have a mess to clean after due to water dripping on the floor.
6. Divide the cleaning
You cannot clean all the windows in your house in one day unless you hire professionals.
If you are going to do it yourself, divide the cleaning.
You can start with the living room and kitchen and move on from there.
Two or three days are enough if you don’t have a big house.
And it would be easier to clear after a month or two.
So now that you know how to prepare when cleaning your windows, let’s get to the cleaning process.
Your windows have inner and outer sides; to get a sparkling clean window, you must clean the interior and exterior parts.
What do you need to get a sparkling clean window?
- Sponge
- Microfiber cloth
- A bucket full of cleaning solution
- Water
- Squeegee
- Large towels
A. Cleaning the Interior Parts of Your Windows

- Fill your bucket with water and add a few drops of liquid soap
- Place the towel on the floor to collect dripping water, saving you from more cleaning work.
- Take a squeegee or a microfiber cloth the clean the window. Start from the top, going down.
- Remember to wipe the windows frame
- Some people spray the window with vinegar, while others use store-bought cleaning sprays.
- Afterward, use cotton or lint-free cloth to dry your window. Make a z-shaped motion to avoid leaving streaks. Some people use black and white pages of a newspaper, and other use clean paper towels. So it depends on your preference.
- If you notice some dirt streak, repeat the process. Spray and wipe.
As we said initially, it’s best to work on a day when it is not sunny or windy; instead, clean your windows on a cool and dry day.
B. Cleaning the exterior parts of your window

It is common knowledge that your window’s outer part has more dirt than the inside. So you will have your work cut out for you.
- You can start by wiping or rinsing your windows using a bucket of water or a hose.
- After all the dirt flows down, take another bucket of water filled with soap.
- Use a Squeegee or a microfiber cloth to clean your windows. If you can’t reach some parts of your windows, take a sponge mop, or a microfiber mob fitted to a pole and use it to clean them.
- After cleaning, rinse your windows with clean water
- If you notice some stains, such as bird poop, remain even after washing. Spray them with warm water and vinegar, and leave them to soak the dirt for a few minutes. Then take a soft scrubby sponge and clean them. Do not use a brittle sponge, as the chances of scratching your glass windows are high.
- Afterward, spray your store-bought cleaning solution or homemade
- Using a squeegee, wipe your windows in a Z motion. Start from the top and work your squeegee downwards. After each wipe, wipe your squeegee with a dry towel to remove the specks of dirt and repeat the process until they are clean and streak-free.
- In the end, wipe the window frames.
Sometimes, your windows may be stained with mineral deposits, especially if you live in a place with hard water.
Although it may be challenging to clean, your best cleaning solution is store-bought, especially those that can remove calcium, rust, and lime stains.
Such cleaning products include CLR PRO Calcium, Lime, and Rust Remover.
Final Thoughts on How to Clean Windows and Get Rid of Dirt on Glass Easily
In conclusion, cleaning windows can be a chore, but with the right approach and tools, it can be an easy and satisfying task. The key is to use the appropriate cleaning solution and equipment and to follow a step-by-step process that will ensure streak-free, sparkling windows.
Whether you choose to use simple household ingredients like vinegar and dish soap or invest in more advanced tools like squeegees and microfiber cloths, the most important thing is to be consistent and take the time to clean your windows regularly.
By following the tips and tricks outlined in this guide, you’ll be able to achieve crystal-clear windows that let in natural light and provide a beautiful view of the outside world. So go ahead, grab your cleaning supplies, and get ready to enjoy a space that is bright, inviting, and free of dirt and grime!
